A healthy spring bake for women made with maple syrup, olive oil and hormone-supportive ingredients
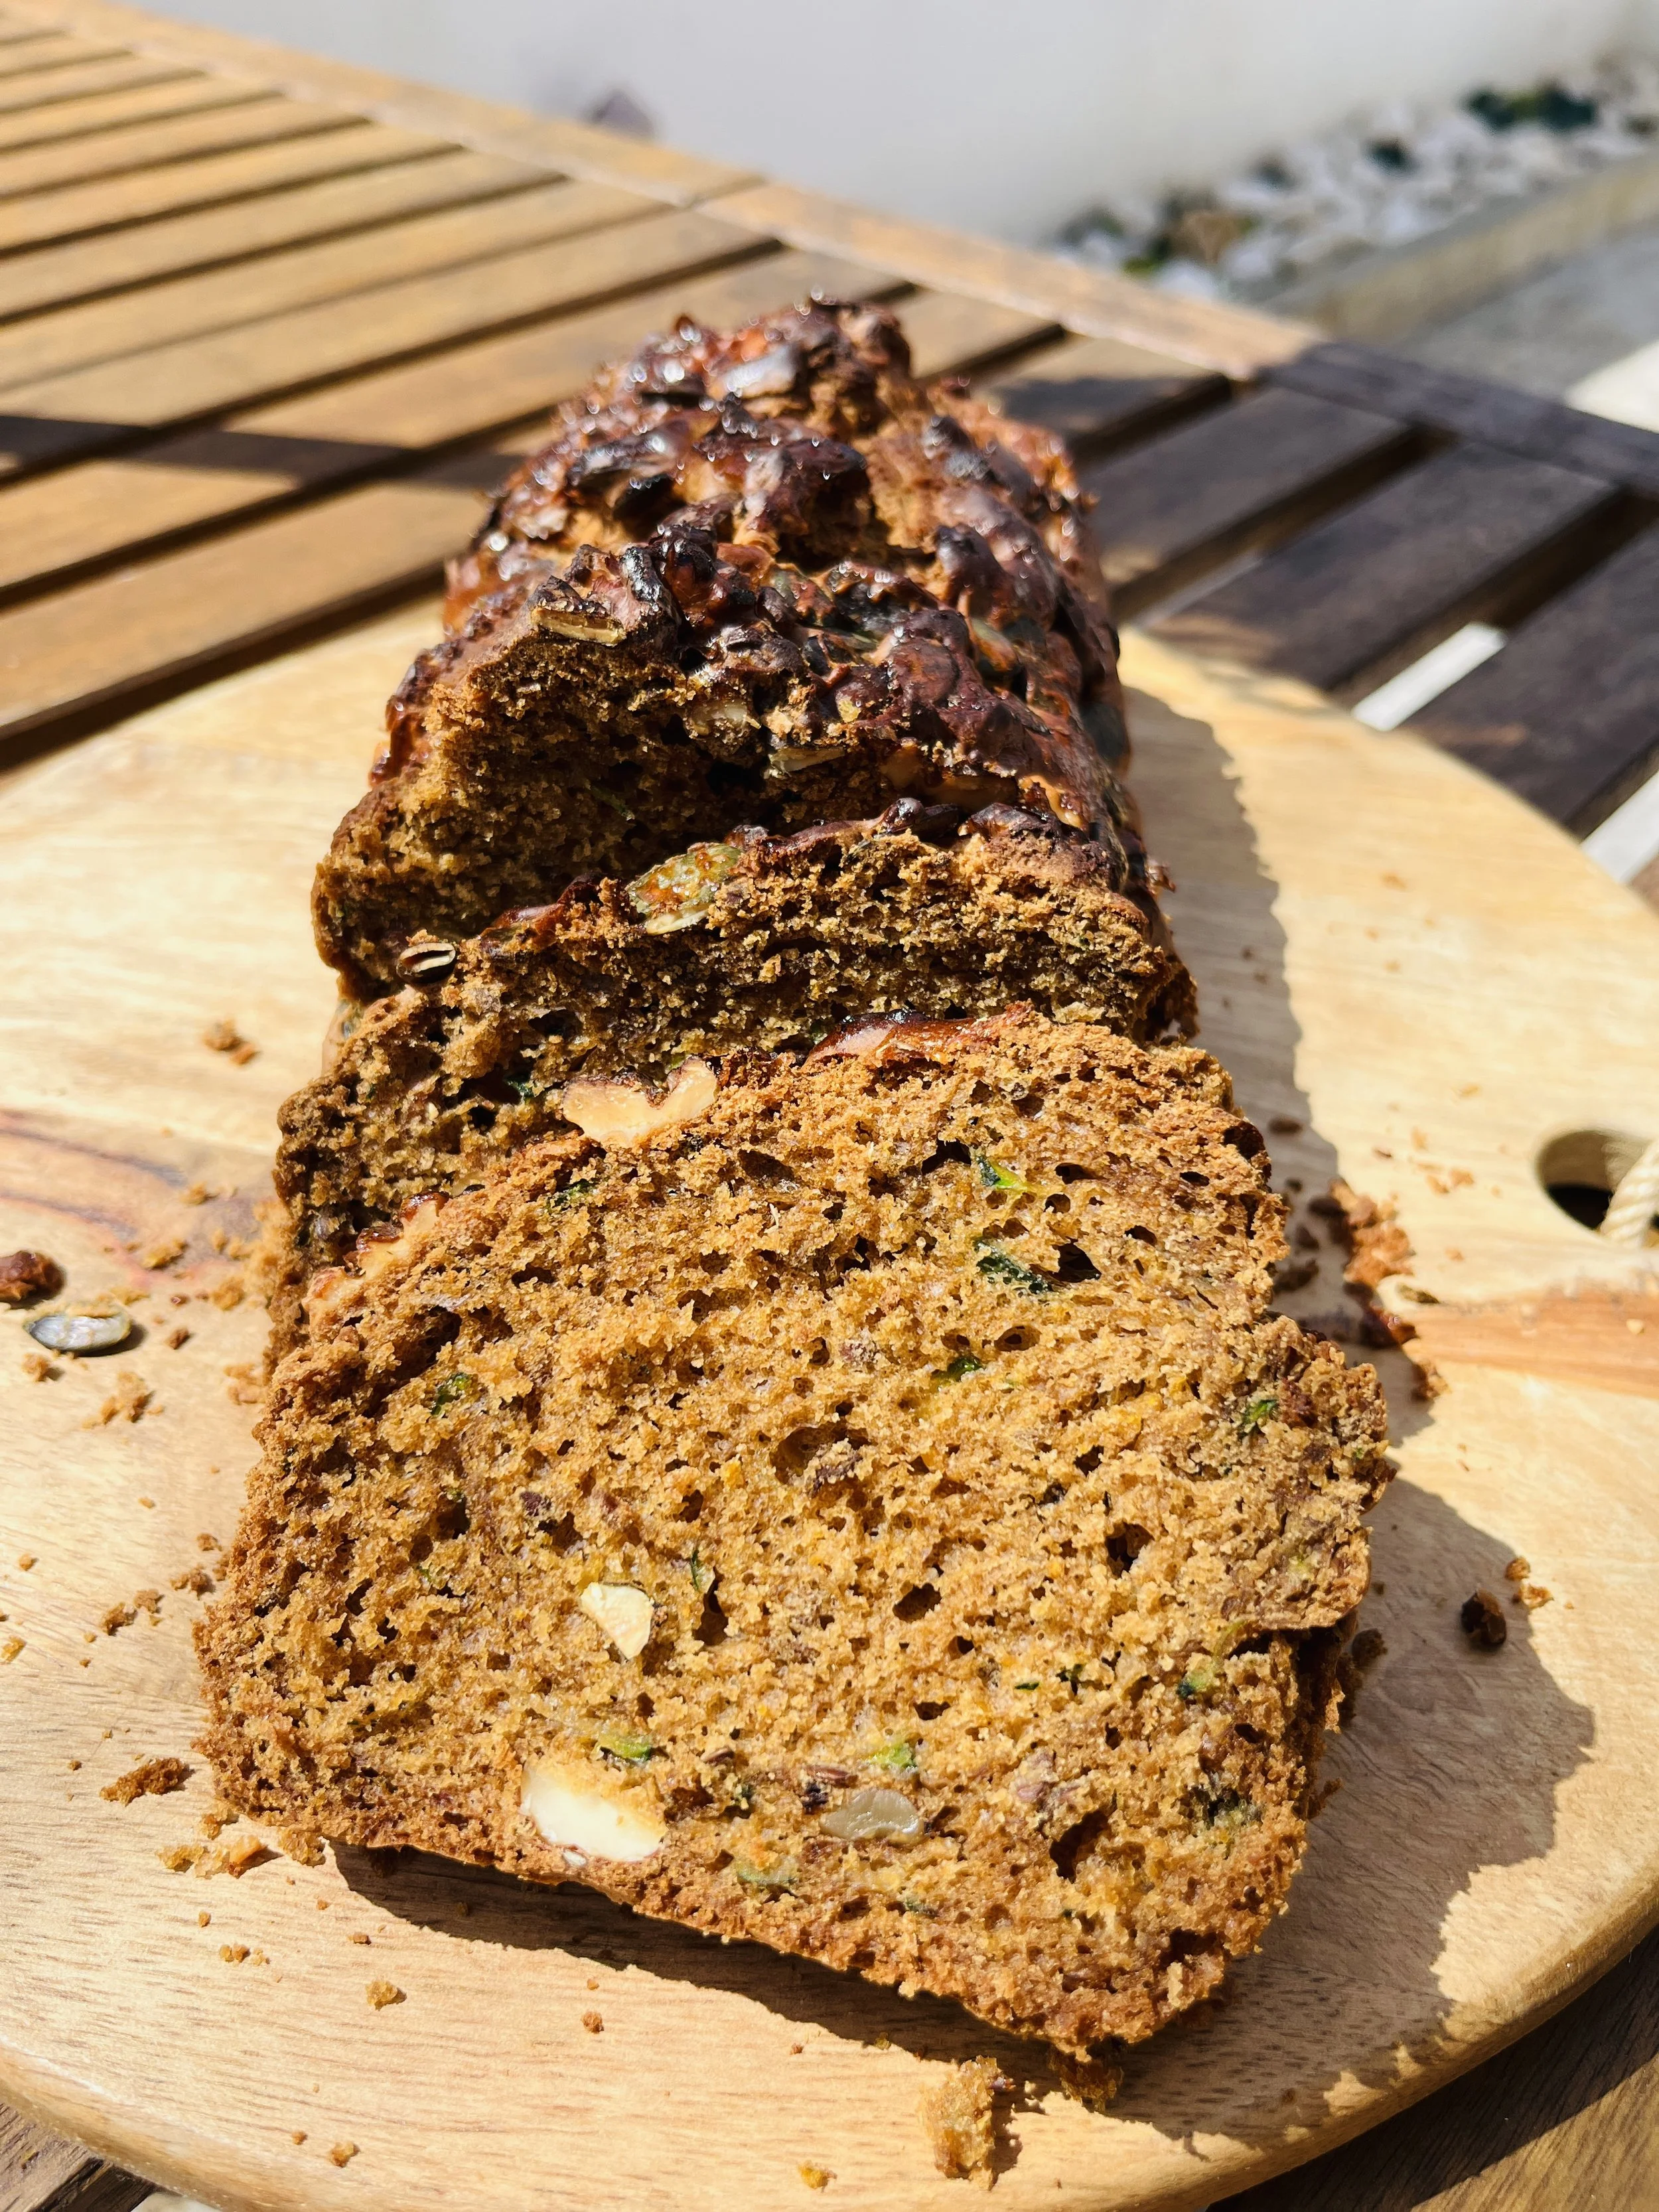
A few days ago, I gave a workshop to a group of young women about eating in sync with your cycle, understanding your hormones, and learning how to support your body instead of constantly fighting against it.
I brought this zucchini bread with me as a little nourishing snack alongside the workshop, not expecting that it would maybe become the star of the morning :-)
The girls asked me afterwards if I could please share the recipe somewhere, so here we are. And honestly… I understand why they loved it.
It’s one of those recipes that feels comforting and satisfying, while still supporting your energy, blood sugar, and hormones in a much gentler way than most cakes or baked goods do. The zucchini keeps it soft and moist, the olive oil and eggs help slow down the blood sugar spike, and the maple syrup gives just enough sweetness without making you crash an hour later.
I especially love making recipes like this in spring. Around this time, many women start craving fresher foods again, but at the same time, our bodies often still need grounding nourishment in our inner winter (menstrual) and autumn (luteal) seasons. This cake sits perfectly in between the two: light and fresh because of the zucchini and orange zest, yet still warm, comforting, and stabilizing thanks to the cinnamon, healthy fats, and fiber.
It’s the kind of bake that works as:
a slow breakfast in the sun
an afternoon snack instead of coffee and sugar
something nourishing to bring to a workshop, picnic or a girls brunch
or simply a healthier sweet treat during the week
Below you’ll find both versions:
the classic version
and a gluten free + lactose free version
Both naturally sweetened with maple syrup, because after testing… it simply gives the best texture compared to other natural sugars.
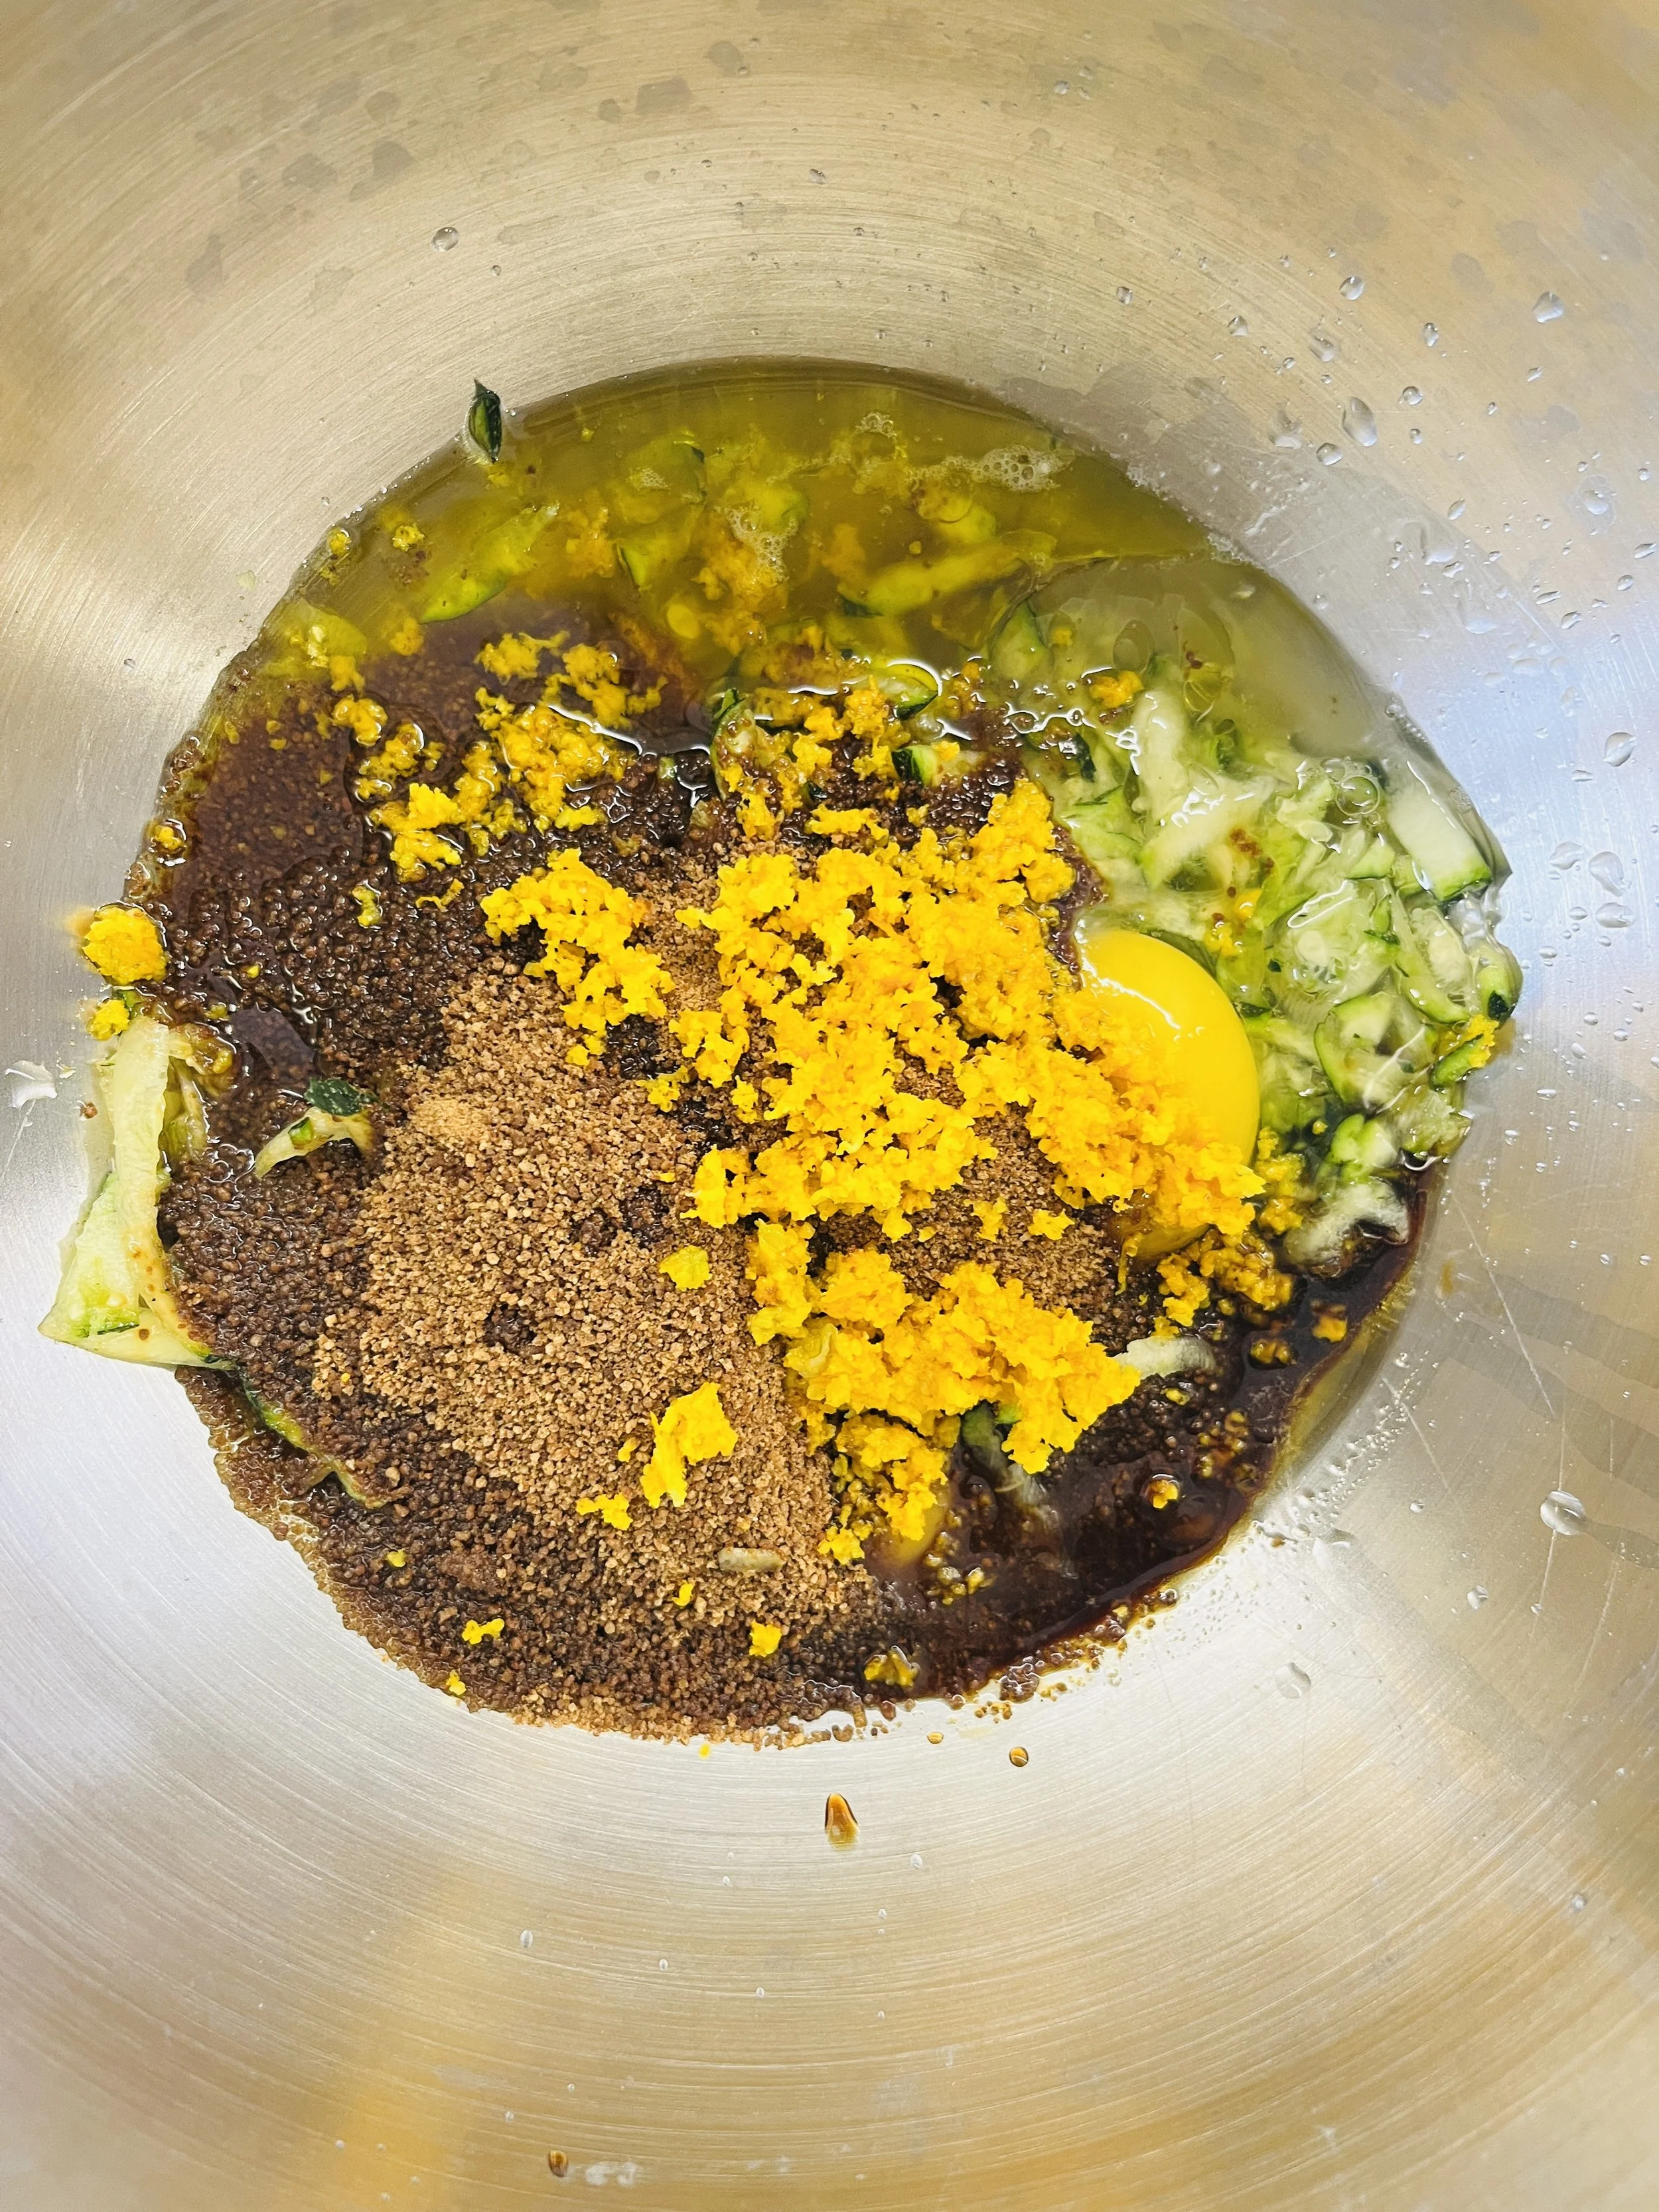
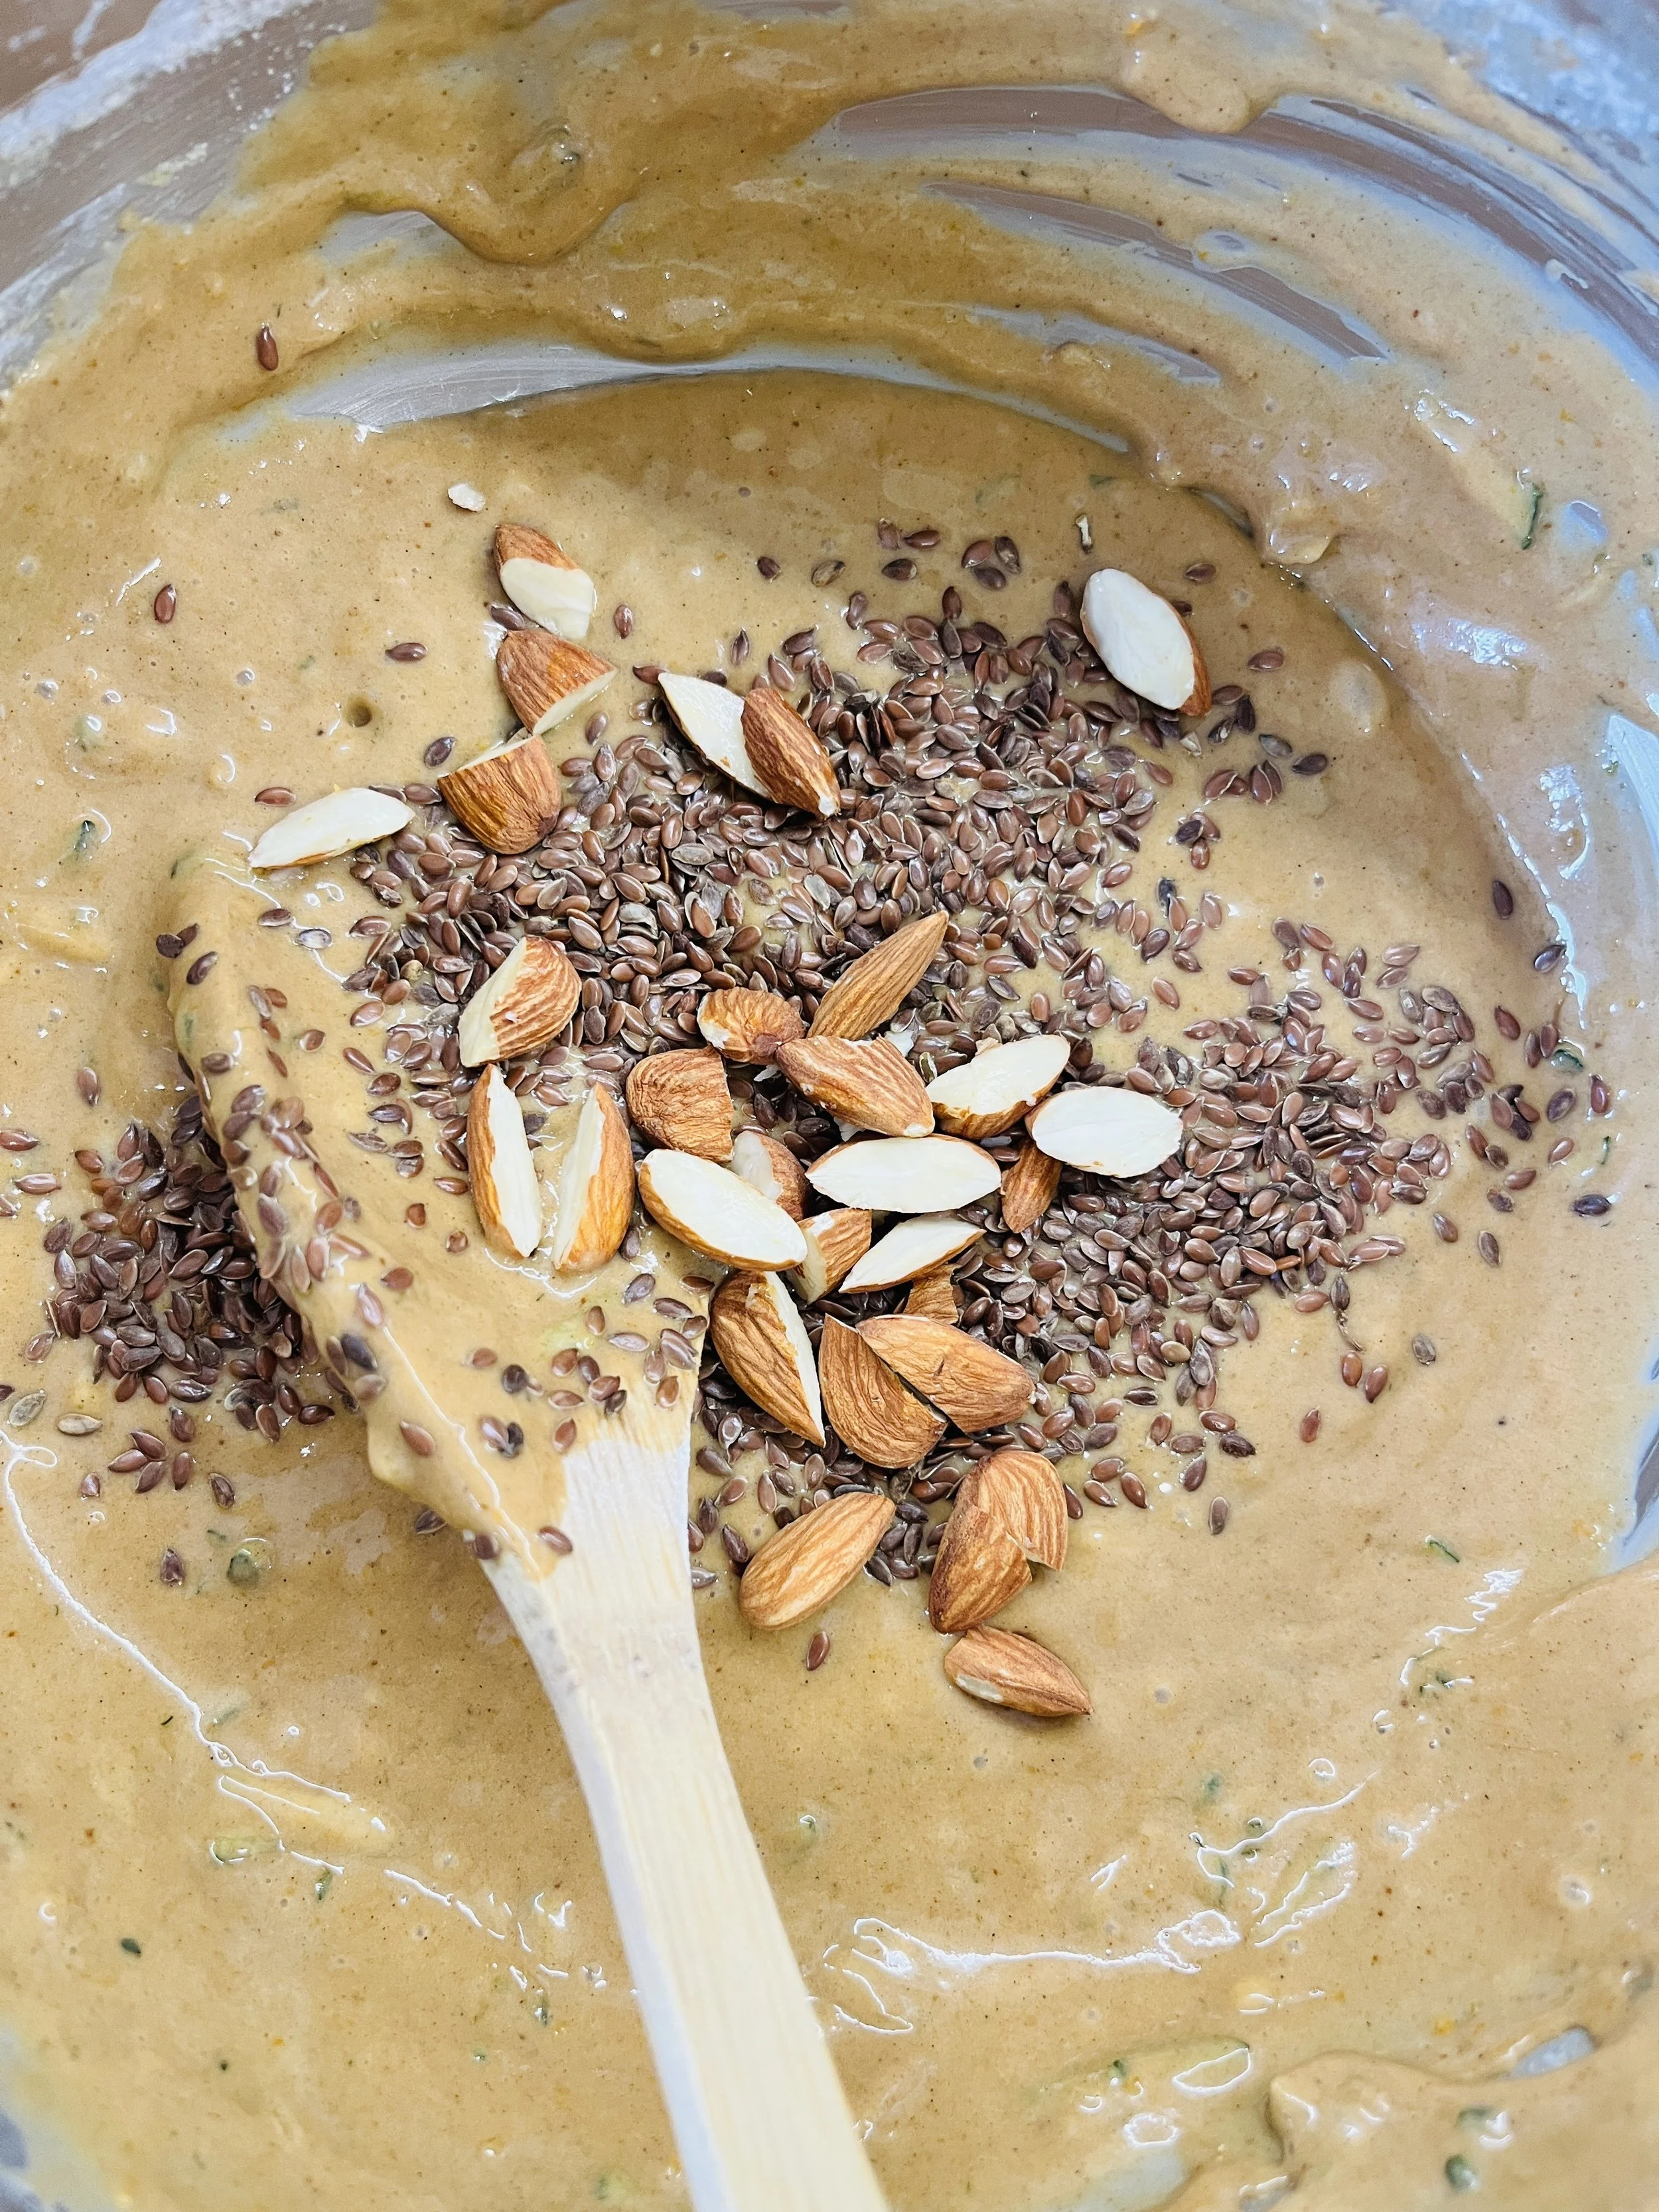
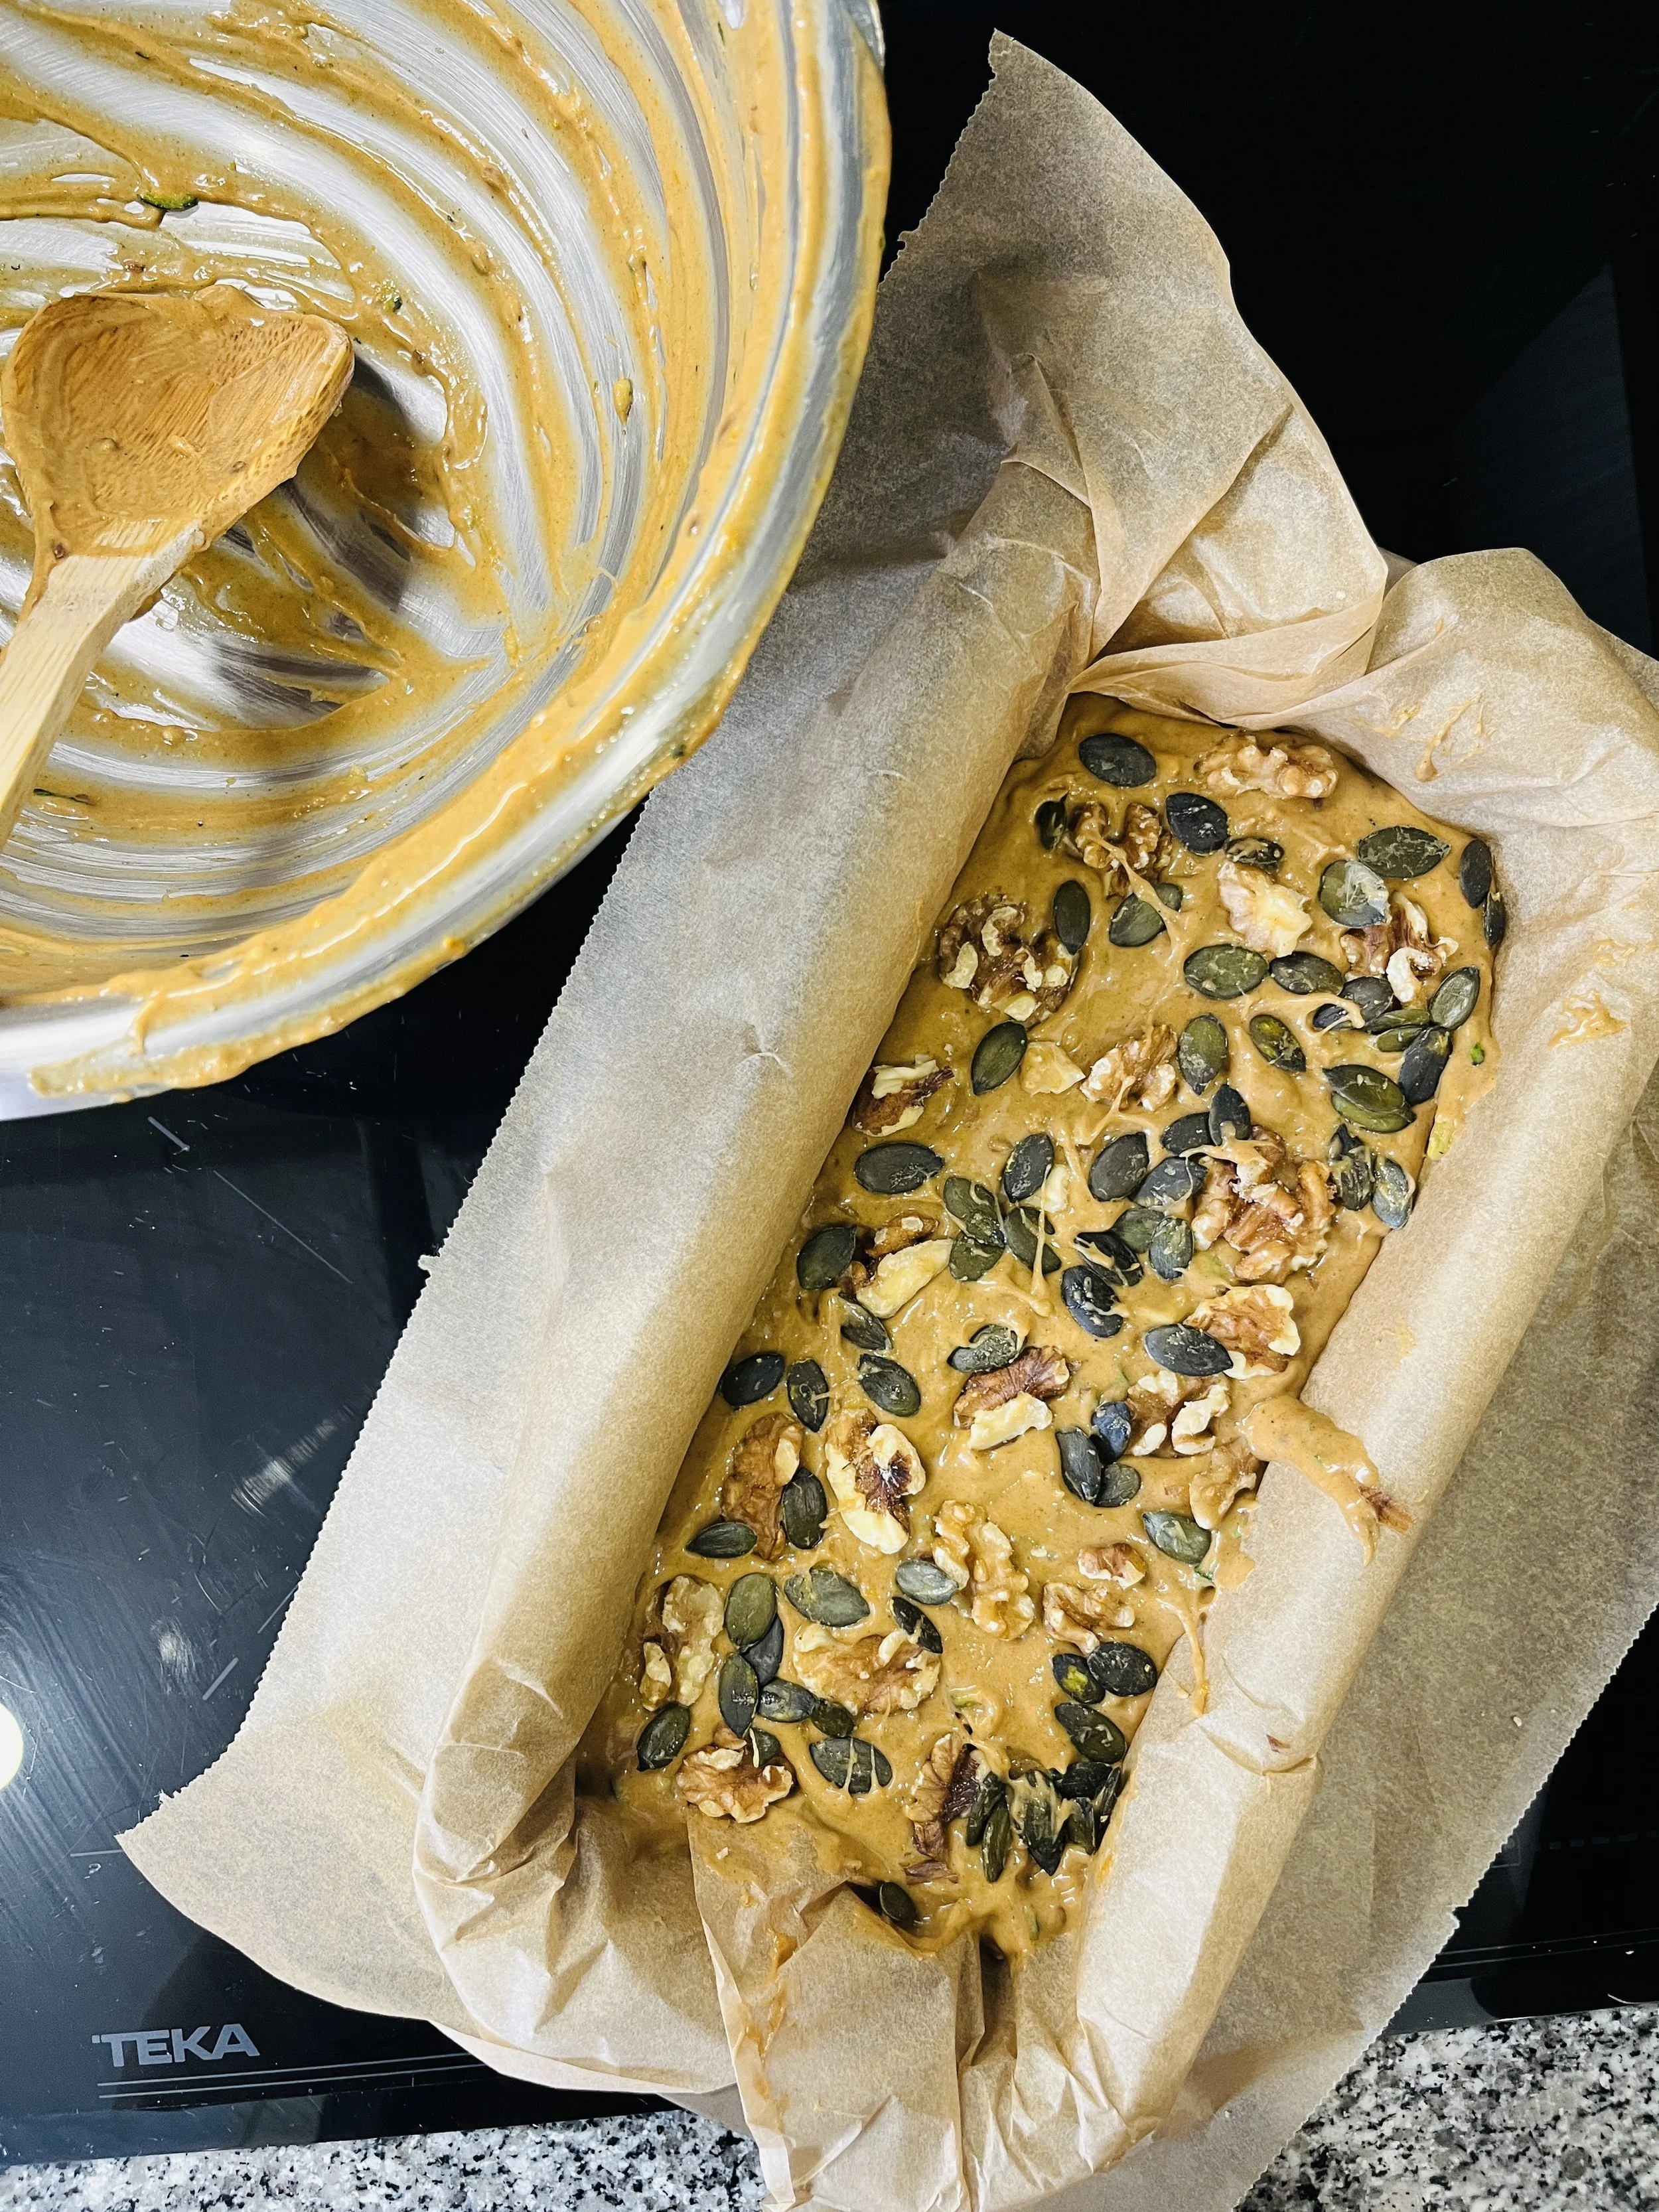
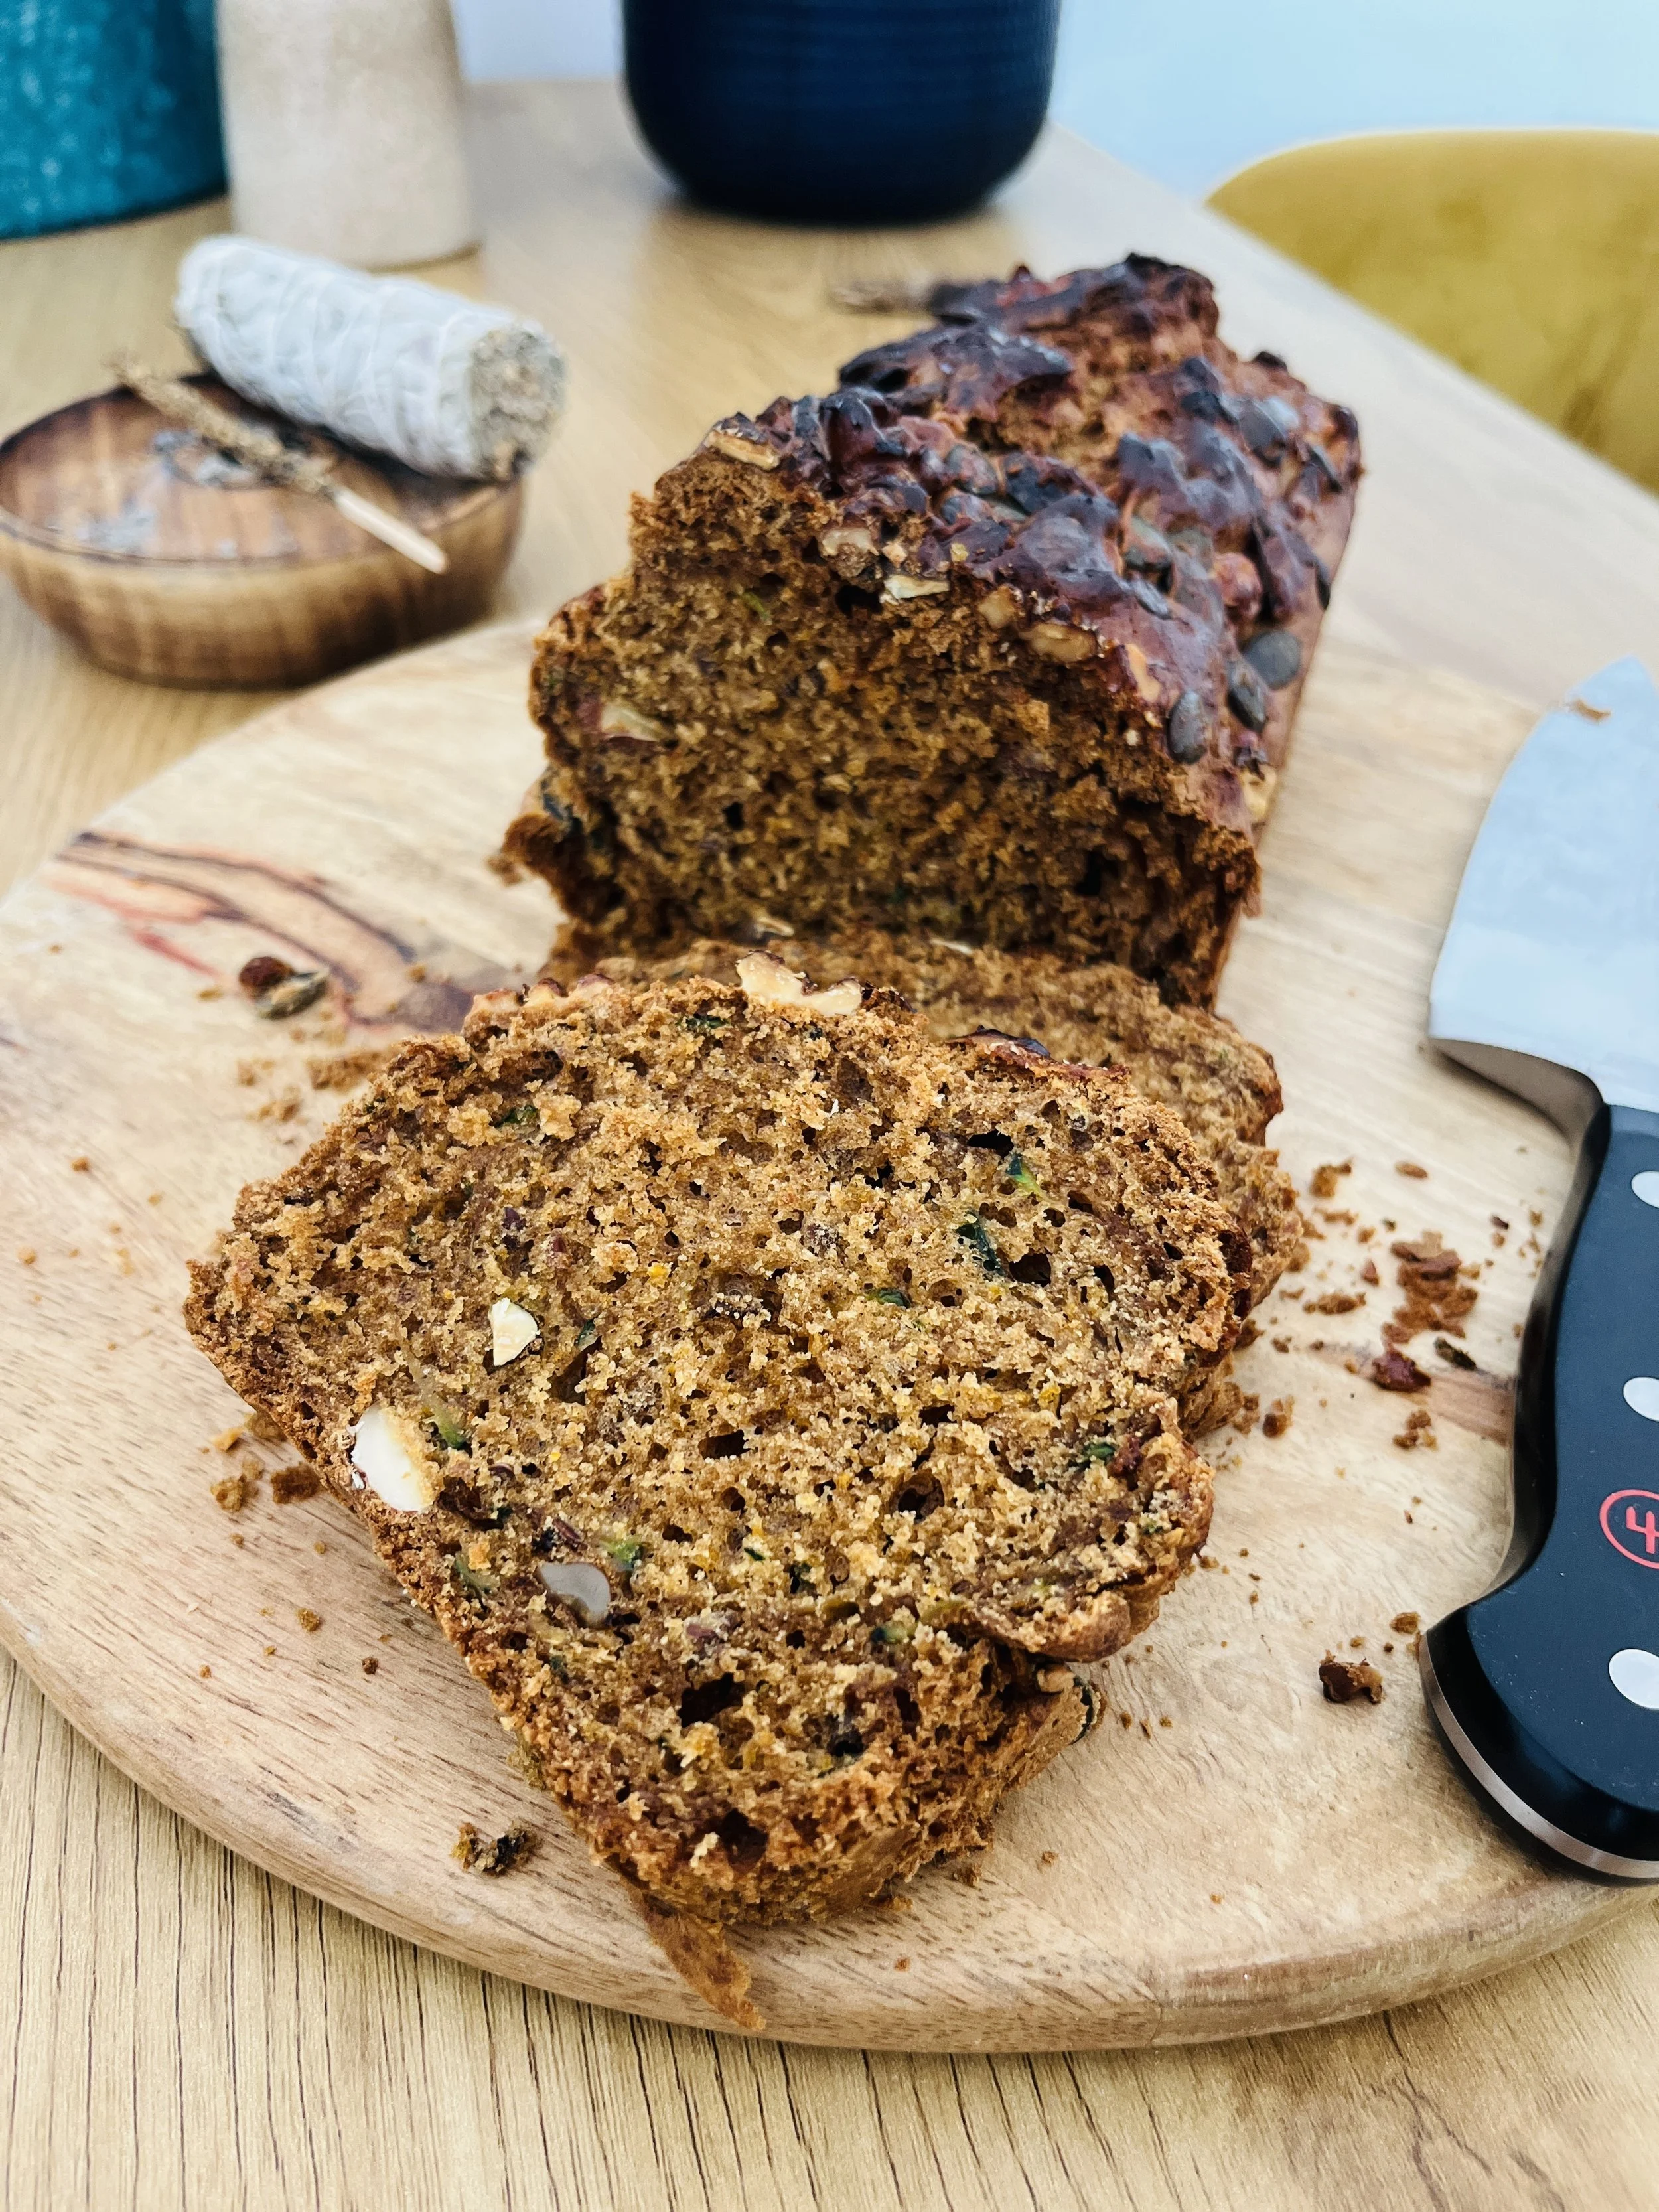
Classic Zucchini Bread
Ingredients
1½ to 2 cups shredded zucchini, squeezed dry
120 ml olive oil
120 ml pure maple syrup
2 eggs
2 tbsp milk or orange juice
2 tsp vanilla extract
zest of 1 orange
210 g all purpose flour
1½ tsp cinnamon
1 tsp baking powder
½ tsp baking soda
½ tsp salt
walnuts or any other nuts you would like to add
Optional: seeds (flaxseeds, sesame, pumpkin, sunflower, great for seed cycling)
Gluten Free Version
Ingredients
1½ to 2 cups shredded zucchini, squeezed dry
120 ml olive oil
120 ml pure maple syrup
2 eggs
¼ cup + 2 tbsp orange juice or milk
2 tsp vanilla extract
zest of 1 orange
248 g gluten-free flour blend
1 tbsp ground flaxseed
1½ tsp cinnamon
1 tsp baking powder
½ tsp baking soda
½ tsp salt
walnuts
Optional: seeds
These instructions work for both the classic and gluten-free versions.
1. Preheat the oven to 175°C (350°F), using conventional heat (top and bottom). Line a loaf tin (approximately 23 × 13 cm) with parchment paper or lightly grease it with olive oil.
2. Prepare the zucchini. Grate the zucchini using a box grater. Place it in a clean kitchen towel or paper towels and gently squeeze out the excess moisture. Don't squeeze it completely dry, a little moisture helps keep the bread soft.
3. Mix the wet ingredients. In a large bowl, whisk together the olive oil, maple syrup, eggs, milk (or fresh orange juice), vanilla extract, and orange zest until well combined.
4. Combine the dry ingredients. In a separate bowl, mix the flour, cinnamon, baking powder, baking soda, and salt. For the gluten-free version, add the ground flaxseed here too.
5. Bring everything together. Gently fold the dry ingredients into the wet mixture until just combined. Add the grated zucchini and, if using, the chopped walnuts or chocolate chips. Avoid overmixing.
6. Let the batter rest (gluten-free version only). If using gluten-free flour, allow the batter to rest for 10–15 minutes before baking. This helps the flour absorb moisture and improves the final texture.
7. Bake. Pour the batter into your prepared loaf tin and smooth the top. Sprinkle with a few extra walnuts or chocolate chips if desired. Bake for approximately 50–60 minutes, checking after 45 minutes. Insert a toothpick into the centre, it should come out clean or with a few moist crumbs, but no wet batter. Cover loosely with foil if the top browns too quickly.
8. Cool before slicing. Leave the bread in the tin for 15–20 minutes, then transfer it to a wire rack to cool completely. This is especially important for the gluten-free version, which needs time to firm up.
A Little Nourishing Tip
For a more balanced snack, enjoy a slice with a spoonful of Greek yogurt, almond butter, or a handful of nuts. Adding some extra protein and healthy fats can help slow digestion and moderate the blood sugar response.
Storage: Keep the bread in an airtight container in the fridge for up to 4–5 days, or freeze individual slices for up to 3 months. Warm a slice slightly before serving to bring back that lovely soft texture.